This and many other products are now available for order online and pickup at a Ferguson location near you.
Answer:
Your nearest pickup location within a 50-mile radius is automatically selected when you enter the site. To change your pickup location and see availability for other nearby locations, click the "Change Pickup Location" link on the product page or in the cart.
Answer:
Eligible items will have the Local Pickup option available both on the product page and in the cart. Select this option for all items you wish to pick up. Please note that Local Pickup can only be scheduled online at this time.
Answer:
Items are usually ready for pickup the same day the online order is placed, but this will depend on order volume and time of day. When your order is ready, you will receive an email including specific pickup instructions. Make sure to check your junk/spam folder. Orders not picked up within two business days may be canceled. You should opt to have your items shipped if you cannot pick them up promptly.
Answer:
During checkout, you will be prompted to enter the name, mobile phone number, and email address of the person who will be picking up the order. For your protection, only you or your designated pickup party may pick up your order. You will need your order confirmation and a government-issued photo ID to pick up your order.
Answer:
Not all items are available at all locations, so pickup availability will vary based on the selected store. Additionally, some items ship directly from our manufacturer partners and are not available for pickup. You can use the "Change Pickup Location" link to check for availability at nearby Local Pickup locations.
Answer:
Due to packaging, shipping costs, and other factors, some items cannot be shipped and are offered exclusively through Local Pickup.
Answer:
Credit/debit cards, Apple Pay, Google Pay, PayPal, and financing are accepted for Local Pickup orders.
Answer:
Make sure to have your order confirmation and a government-issued photo ID available when picking up your order. Check the item dimensions and ensure the items will fit in your vehicle. Bring any straps and other materials that will be needed to secure the items for transport.
Hover to zoom
1 Of 5
+3
View All
Product Discontinued
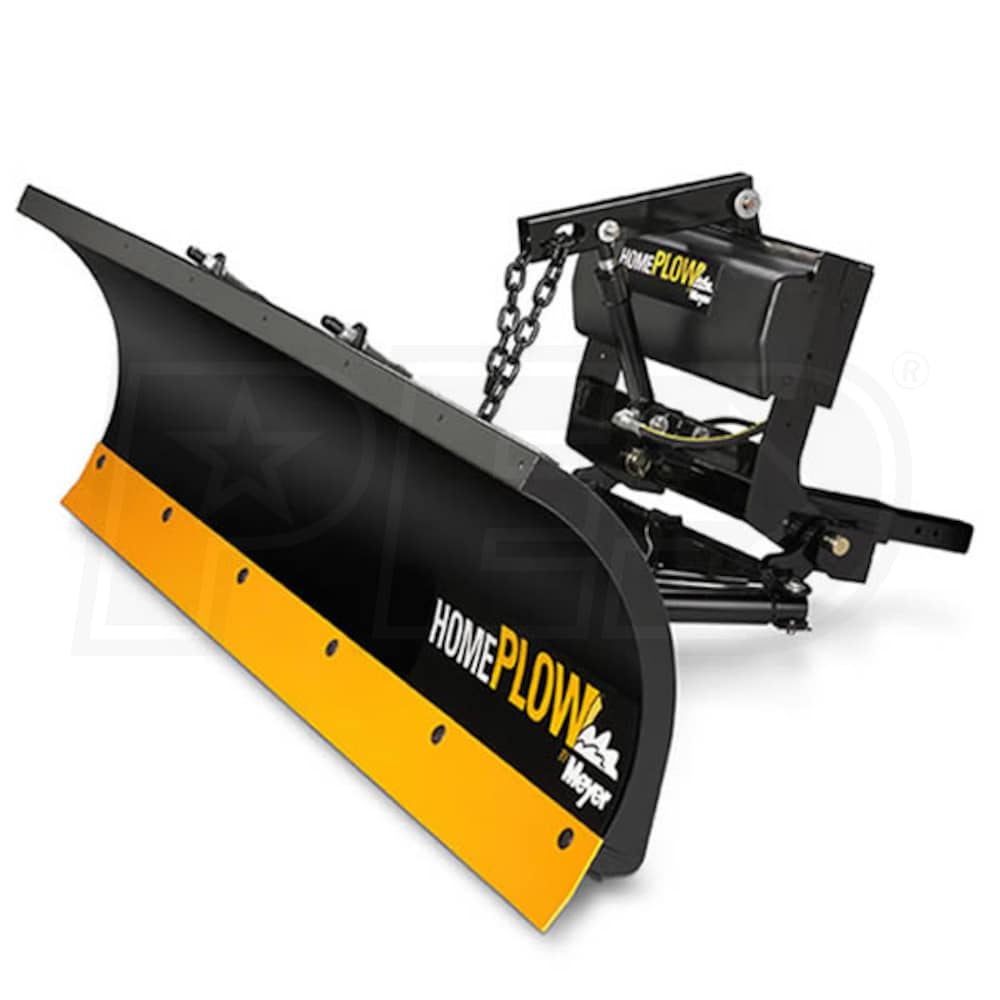
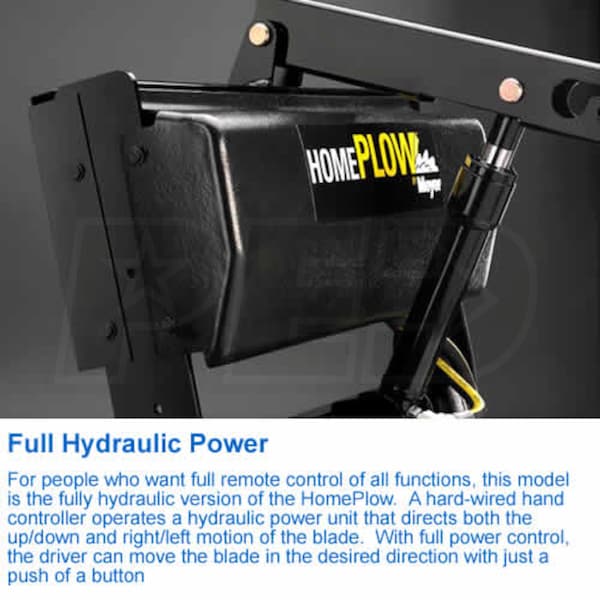
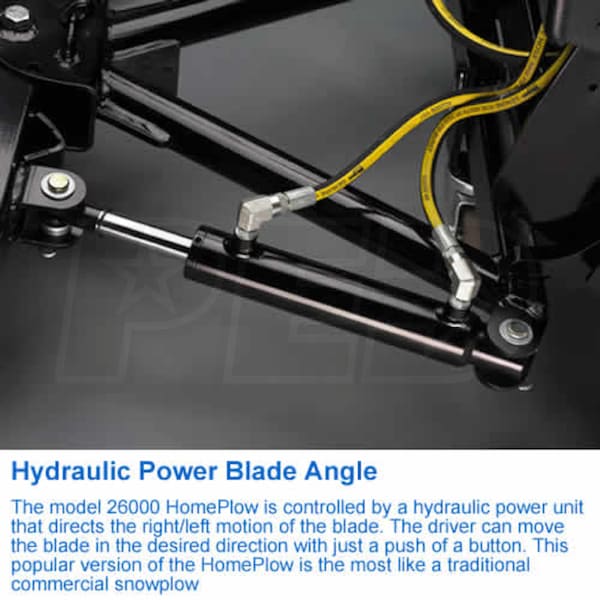
Meyer Home Plow (80") Power Angle Full Hydraulic Snow Plow
Model: 26000
$4,250.00
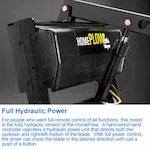
Features
Specifications
Reviews
Product Q&A
How-To Articles
Manuals
Share
+Share This Product
Features
Product Video Disclaimer: "PED is not responsible for any variances from the product in this video and the item you purchase. Please review all product specs prior to purchase."
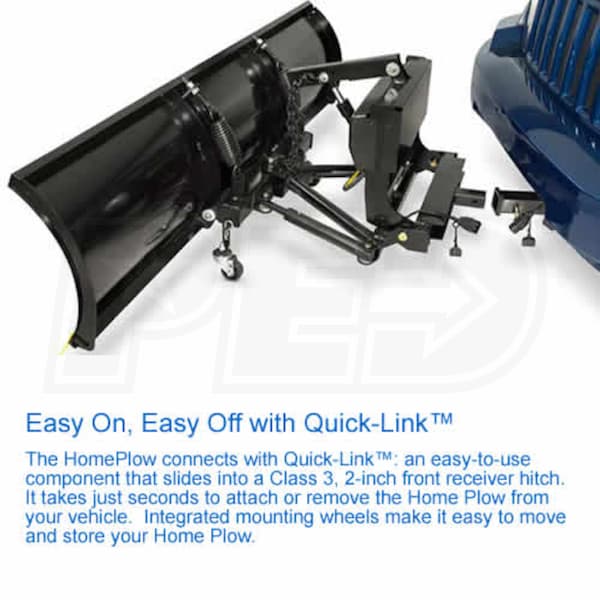
Add Mounting Bracket To Your Order In The Shopping Cart
Add receiver hitch to your order in the shopping cart


 Product Discontinued